Wednesday, February 23, 2011

Splitter

A splitter helps direct air over the car and keeps air from hitting the grille and being forced down and under the car. EMod rules allow a splitter as long as it does not stick out more than 6 inches from the profile of the car when viewed from above. After looking around at a variety of materials to make the splitter, I chose Alumilite because it is very light and quite strong. Alumilite has a corrugated core sandwiched between two layers of thin aluminum and is available from most sign makers.

This is what Alumilite looks like from the end

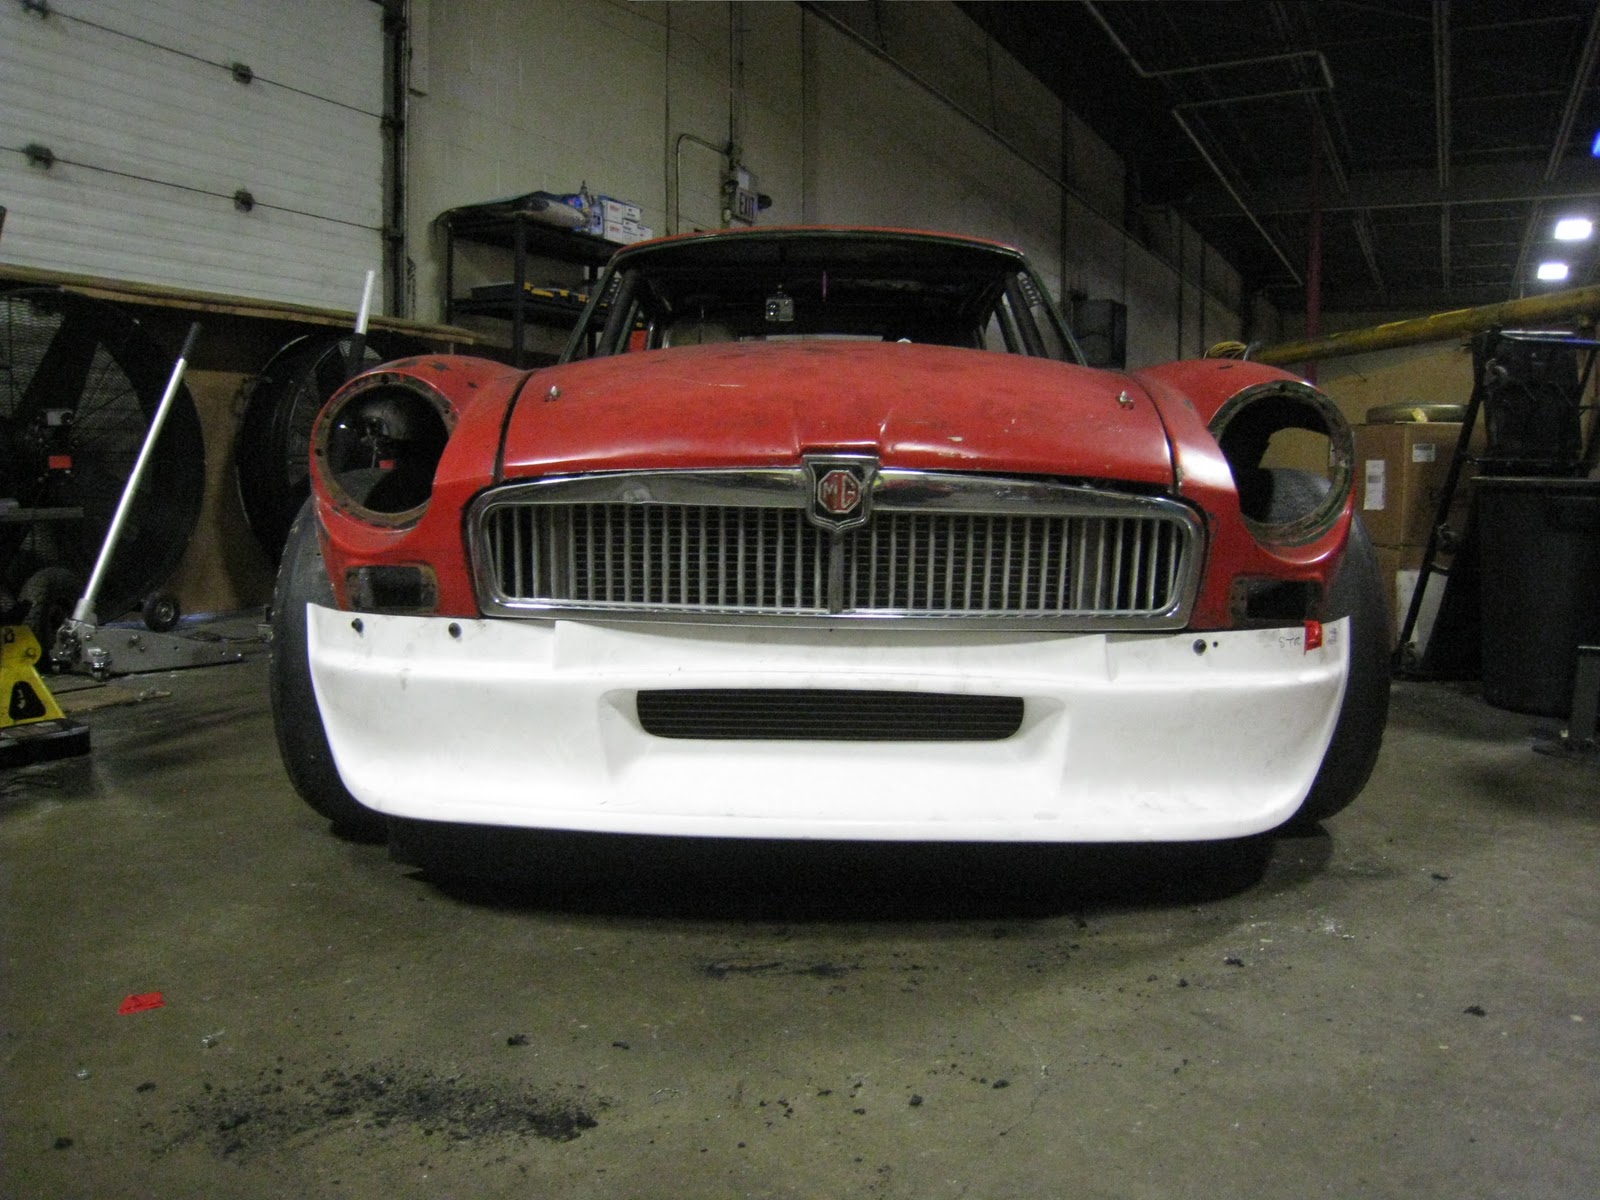
I held the sheet of Alumilite up to the spoiler and drew a line 5 inches from the forward edge. This is a little risky because I don't have a bumper yet and am not certain of it's profile. There may be some adjustments needed once I secure a bumper

I cut the Alumilite with a fine tooth blade in a jigsaw

Then I held it back up to the spoiler and put blocks under it to keep it level

These two brackets for the air dam had to be modified so I could bolt the splitter to the air dam mount

Here it is bolted to the top of the air dam mount

Everything bolted back up.

I still have to add some adjustable struts and the edges could be changed because we still have to add fender flares.

Friday, February 18, 2011

Firewall

I had part of the firwall done previously but now is the hard part: the drivers side footwell.

The blue construction paper is my template


Once satisfied with the fit of the templates, I transfered them to 18 gauge aluminum

I added an access panel so I can get to the pedals and master cylinders

My first zeus fasteners

I actually had room to move the gas pedal over a bit
Passenger side-yes, it is narrow

I have very wide feet and have just enough room, it will be easier with narrow racing shoes


I spent hours getting the throttle pedal right. I had to fabricate a new one one out of aluminum then I covered it in grip tape. I went to a motorcycle shop and picked up a cable and some ends then made up a fancy throttle cable but after hours spent adjusting and changing things, I gave up. I ditched the fancy cable because the pedal feel was awful, I landed up with a piece of mechanics wire from the pedal going straight up to the drivers side crab linkage. It's a straight pull and actuates all the carbs very nicely.


Wednesday, February 16, 2011

Front Spoiler

I have to balance the front aero out with the back and am not allowed to add winglets or other bits to the front. I am allowed to lower the spoiler and add a splitter as long as it doesn't stick out forward of the cars profile when viewed from above. I installed a fiberglass replica of the "Special Tuning" spoiler that MG made available from the factory, but it is a long ways from the ground. I have seen some racers bolt a strip of rubber between the spoiler and the ground but I haven't yet seen one I liked, so I looked for another solution.

Here is what the front looked like with the Special Tuning spoiler. Way too much air can get under the car. I decided to copy what Toyota did on it's GT-One race car, which was to add a rubber lip behind the visible spoiler which kept air from under the car.

I began by removing the spoiler and welding up a bracket out of thin wall 3/4" square tubing. It bolts to the bottom of the lower radiator supports.

I purchased some 1/2" thick rubber belting from a local supplier and bolted it to the bracket. It's stiff enough to deflect the air but soft enough to bend when it comes into contact with something like a rock or pylon.

And with the spoiler back on, you can't even see it. Air will not go under the car but will get deflected to the side or up through the radiator.

Tuesday, February 15, 2011

Grille

I bought a grille and when I went to fit it, I discovered that the opening was all wrong because the fenders were not positioned correctly. Once I had the grille in the proper place, I built a single lower aluminum plate and two top aluminum straps to hold it in place.

Monday, February 14, 2011

Rear Spoiler

A rear diffuser is not effective without a rear spoiler, and the SCCA limits the size of the spoiler in EMod to 10" high at the center, and it can't overhang the bodywork. I took some measurements and ordered some bent .125 aluminum from Tailor-Made manufacturing.
I started off with some poster paper and spent so long cutting, fitting, cutting and fitting that I could hardly stand up straight afterwards.

Once I was satisfied with my template, I transfered it to the piece of aluminum and cut it out with the plasma cutter. There was still a lot of fitting, grinding, cutting and fitting with the aluminum to get it sitting right.

Here it is before being fastened on properly

The end plates act as a support and keep the spoiler at a 55 degree angle. Why 55 degrees? Well, I Googled a lot of spoiler angles for autocross and 45-55 degrees were typical.

I have to remove the bolts on the side to open the hatch but the only thing under there is the rear shock and sway bar adjustments.


It turns out that my spoiler endplates exceeded the 100 square inches that the rules allow, so I trimmed them back.


Since I could no longer use the end plates to fasten the spoiler in place, I made these adjustable rods to hold it at the angle I want.


Wednesday, February 9, 2011

Diffuser

Time for a diffuser. I read a bunch of articles on diffuser theory and opinions vary about angles and specific designs for sedans like my MGB-GT. I decided to be agressive with the angles because the speeds involved are low and the length is limited to 25" by SCCA Solo rules.
I taped some poster board together and used it to form a template to transfer onto to sheet aluminum. Once I had the right lenth and widths figured out, I taped it to the underside of the car to make sure everything cleared.

This is a side plate after it has been cut and the tabs bent.

Here it is riveted to the one side of the diffuser.

Both sides riveted on

Here it is test fit on the car, the coffee can is holding up the front.

For the 3 center strakes, I cut slits in the diffuser and pushed the tabs through and bent them on the opposite side. That way the rivets and tabs will not disturb the airflow.

The diffuser is complete, now I have to fix it in place with quick release pins so I can remove it for loading and unloading on the trailer.

Here it is finally mounted. I moved it forward a few inches because it looks better.
Add caption


The quick release pins so I can take it off for loading/unloading.

Tuesday, February 8, 2011

Fuel Cell

I planned on installing a diffuser but the fuel cell I had in the car sat so low that there was no room underneath it for an expansion chamber.

The old 16 gallon cell weighs almost 30 lbs empty, the new 5 gallon cell weighs under 10 lbs. I also can remove a crossmember that was only used to hold up the fuel cell, so I dropped 30 lbs just like that.

A rear crossmember had to be notched a bit to make room for the new fuel cell.

Here is the cell bolted in place. I made straps out of flat bar and they bolt underneath.

With the covers and remote filler hose in place,

It's a sump style cell and there are baffles inside to keep even the smallest amount of fuel close to the pick-up, which is perfect for autocross.

Tuesday, February 1, 2011

Moving the roll cage


After driving the car, I realized that the seat was too close to the pedals and moving the pedals is not an option. This left moving the roll hoop and the attached tubes back, a daunting job.
Here is the seat before I moved it
And after moving the cage back 4 inches

Here you can see that the fuel filler hose had to snake it's way around the roll cage

But since I was already cutting up the cage, I moved the tube forward to clear the filler hose