 | |
| Here is the upper passenger side rad mount |
 |
| Lower passenger side mount |
 |
| And room behind the rad for dual shrouded fans. |
| |
| Here is the upper passenger side rad mount |
|
| Lower passenger side mount |
|
| And room behind the rad for dual shrouded fans. |


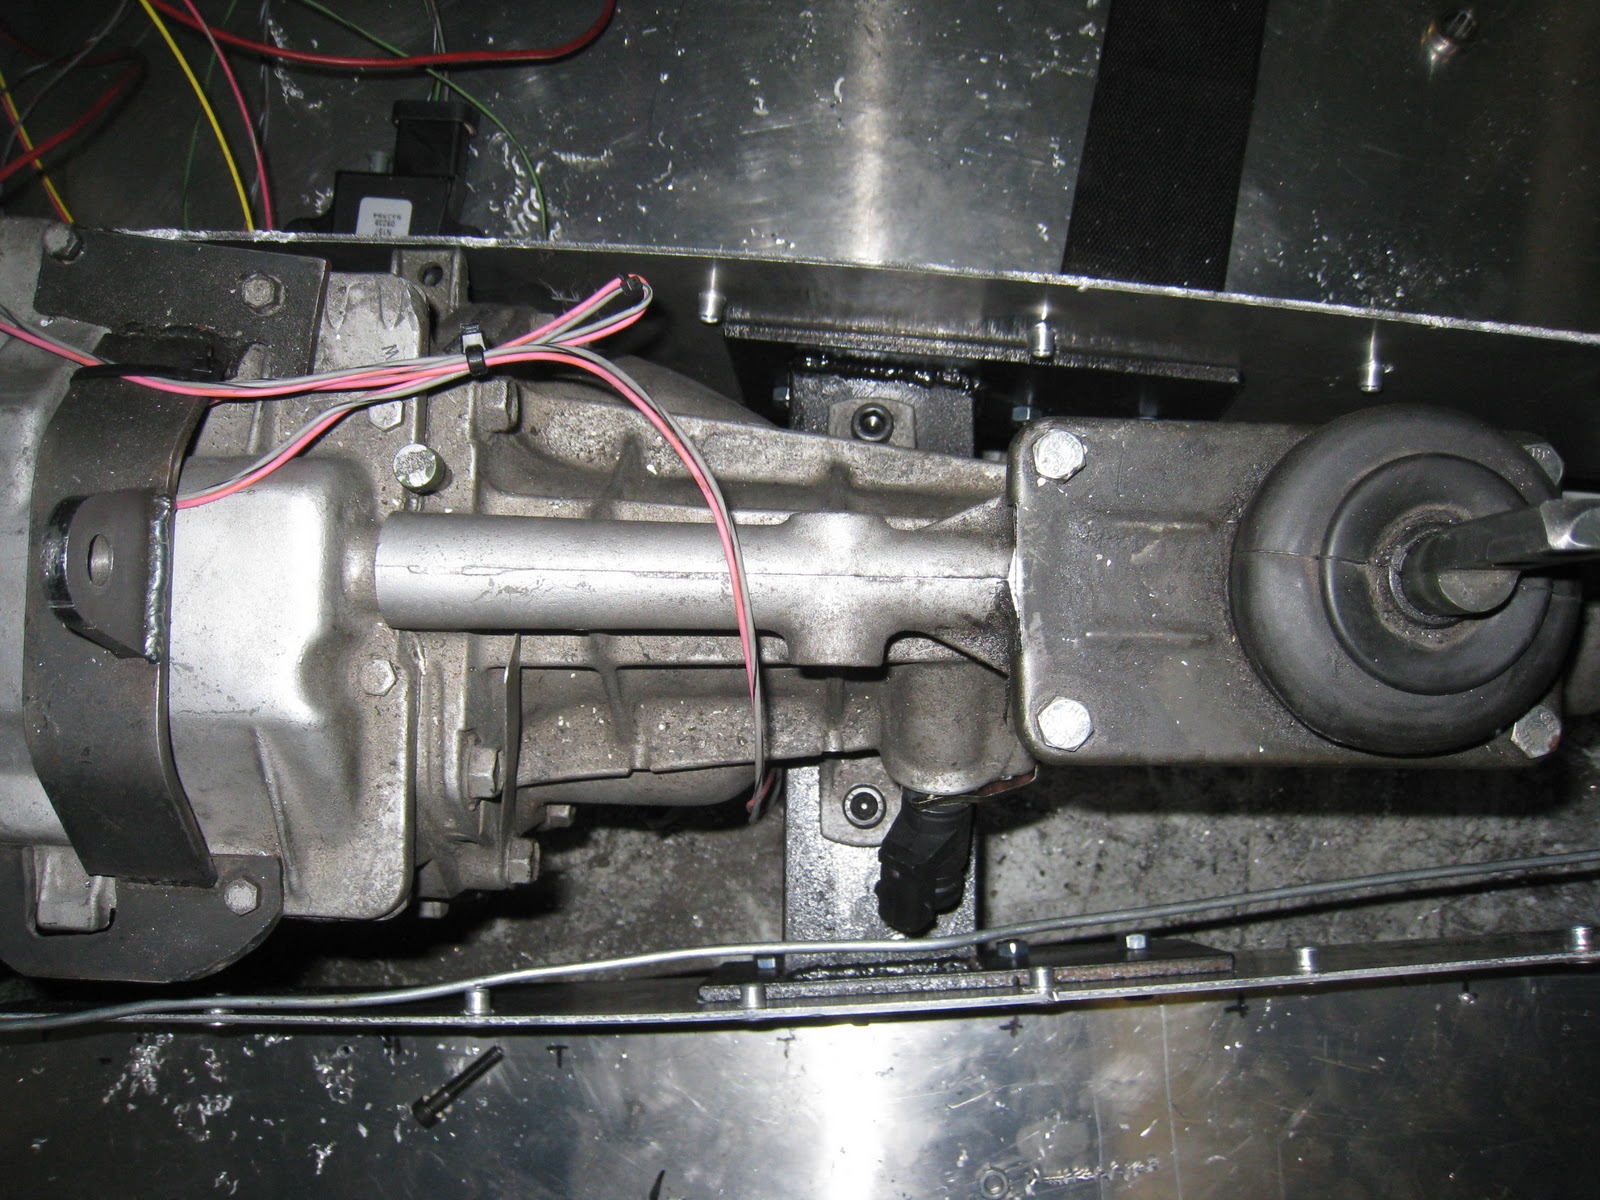 |
| The floor is so strong that I am using it to support the transmission. Here you can see the steel mount I have bolted between the driver and passenger floor. To be safe, I am going to seem weld the entire floor and add some gussets. |
 |
| I added a steel plate to add further strength and spread the load out a little bit. I will definitely have to keep an eye on the floor to make sure it's not buckling under the weight of the transmission. |
 |
| I ordered 1/8" aluminum sheet from a local supplier and had them bend the pieces for me. |
 |
| And did a bunch of trimming and test fitting until the floor fit nicely. I used threaded rivets so I could bolt the floor to the frame and the transmission tunnel to the floor. At the back of the tunnel you can just see the modified driveshaft loop which now also serves as the rear mount for the tunnel. |
 |
| I still have to add the vertical piece to fill in the rear of the floor, but you can see how I bolted it to the frame rail. |
 |
| A test fit of the seat revealed that I will have to make an angled mount to attach the sliders, it shouldn't be that difficult. |